


Photo by author
# Introduction
Everyone focuses on solving the problem, but almost no one examines the solution. Sometimes, a perfectly working script can break with just a new row of data or a minor change in logic.
In this article, we will tackle the Tesla interview question The python And show how versions and unit tests turn a fragile script into a reliable solution by following three steps. We will start with an interview question and conclude with an automated test GitHub Actions.
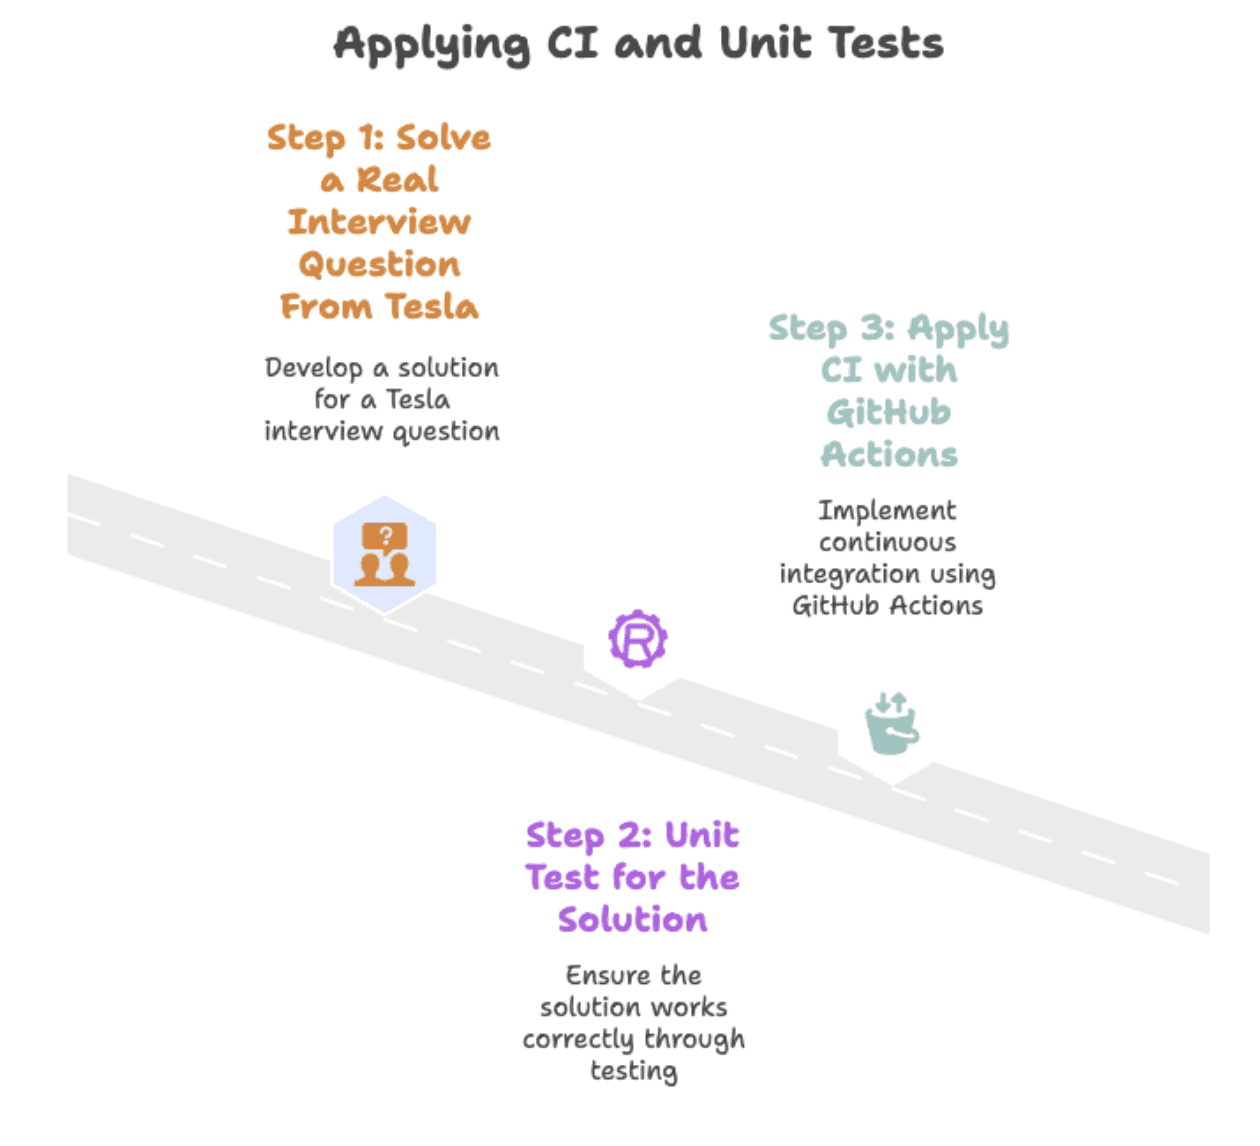
Photo by author
We will go through these three steps to make the data solution ready for production.
First, we’ll tackle a real interview question from Tesla. Next, we’ll add unit tests to ensure the solution remains reliable over time. Finally, we’ll use GitHub Actions to automate testing and version control.
# Solving a real interview question from Tesla
New products
Calculate the net change in the number of products launched by companies in 2020 compared to 2019. Your output should include the company name and net difference.
(Net difference = number of products launched in 2020 – number launched in 2019.)
In this interview Question from Teslayou are asked to measure product growth over two years.
The task is to return the name of each company with a difference in product count between 2020 and 2019.
// Understanding the dataset
Let’s first look at the dataset we are working with. Here are the column names.
| Column name | Data type |
|---|---|
| The year | INT64 |
| Company_Name | Objection |
| product_name | Objection |
Let us preview the dataset.
| The year | Company_Name | product_name |
|---|---|---|
| 2019 | Toyota | Avalon |
| 2019 | Toyota | Camry |
| 2020 | Toyota | Corolla |
| 2019 | Honda | The contract |
| 2019 | Honda | Passport |
This dataset has three columns: yearfor , for , for , . company_nameand product_name. Each row represents a car model by a company that was released in a specific year.
// Writing a Python solution
We will use Basic Pandas Functions to group, compare and calculate net product change per company. The function we will write divides the data into 2019 and 2020 subsets.
Next, it merges them with company names and counts the number of unique products launched each year.
import pandas as pd
import numpy as np
from datetime import datetime

df_2020 = car_launches(car_launches('year').astype(str) == '2020')
df_2019 = car_launches(car_launches('year').astype(str) == '2019')
df = pd.merge(df_2020, df_2019, how='outer', on=(
    'company_name'), suffixes=('_2020', '_2019')).fillna(0)
The final output counts 2019 from 2020 to get the net difference. Here is the full code.
import pandas as pd
import numpy as np
from datetime import datetime

df_2020 = car_launches(car_launches('year').astype(str) == '2020')
df_2019 = car_launches(car_launches('year').astype(str) == '2019')
df = pd.merge(df_2020, df_2019, how='outer', on=(
    'company_name'), suffixes=('_2020', '_2019')).fillna(0)
df = df(df('product_name_2020') != df('product_name_2019'))
df = df.groupby(('company_name')).agg(
    {'product_name_2020': 'nunique', 'product_name_2019': 'nunique'}).reset_index()
df('net_new_products') = df('product_name_2020') - df('product_name_2019')
result = df(('company_name', 'net_new_products'))
// Viewing expected output
Here is the expected output.
| Company_Name | net_new_products |
|---|---|
| Chevrolet | 2 |
| Ford | -1 |
| Honda | -3 |
| Jeep | 1 |
| Toyota | -1 |
# Validating the solution with unit tests
Fixing a data problem once doesn’t mean it will continue to work. A new row or logic tweak can silently break your script. For example, imagine you accidentally rename a column in your code, replacing the line:
df('net_new_products') = df('product_name_2020') - df('product_name_2019')For this:
df('new_products') = df('product_name_2020') - df('product_name_2019')The logic still runs, but your output (and test) will suddenly fail because the expected column name no longer matches. Unit tests fix this. They check if the same input still gives the same output, every time. If something breaks, the test fails and shows exactly where. We’ll do this in three steps, starting with converting the solution to the interview question into a function that checks the output against our expectation.

Photo by author
// Converting a script to a reusable function
Before writing tests, we need to make our solution reusable and easy to test. Turning it into a function allows us to run it with different datasets and automatically validate the output, without rewriting the same code each time. We changed the original code to a function that accepts DataFrame and returns the result. Here is the code.
def calculate_net_new_products(car_launches):
    df_2020 = car_launches(car_launches('year').astype(str) == '2020')
    df_2019 = car_launches(car_launches('year').astype(str) == '2019')

    df = pd.merge(df_2020, df_2019, how='outer', on=(
        'company_name'), suffixes=('_2020', '_2019')).fillna(0)

    df = df(df('product_name_2020') != df('product_name_2019'))

    df = df.groupby(('company_name')).agg({
        'product_name_2020': 'nunique',
        'product_name_2019': 'nunique'
    }).reset_index()

    df('net_new_products') = df('product_name_2020') - df('product_name_2019')
    return df(('company_name', 'net_new_products'))
// Description of test data and expected output
Before running any tests, we need to know what “correct” looks like. Specifying the expected output gives us a clear standard against which to compare the results of our function. So, we’ll create a small test input and clearly define what the correct output should be.
import pandas as pd

# Sample test data
test_data = pd.DataFrame({
    'year': (2019, 2019, 2020, 2020),
    'company_name': ('Toyota', 'Toyota', 'Toyota', 'Toyota'),
    'product_name': ('Camry', 'Avalon', 'Corolla', 'Yaris')
})

# Expected output
expected_output = pd.DataFrame({
    'company_name': ('Toyota'),
    'net_new_products': (0)  # 2 in 2020 - 2 in 2019
})
// Writing and running unit tests
The following test code checks whether your function returns exactly what you expect.![]()
If not, the test fails and tells you why, down to the last row or column.
![]()
The test below uses the function from the previous step (calculate_net_new_products()) and the expected output we defined.
import unittest

class TestProductDifference(unittest.TestCase):
    def test_net_new_products(self):
        result = calculate_net_new_products(test_data)
        result = result.sort_values('company_name').reset_index(drop=True)
        expected = expected_output.sort_values('company_name').reset_index(drop=True)

        pd.testing.assert_frame_equal(result, expected)

if __name__ == '__main__':
    unittest.main()
# Automated tests with continuous integration
Writing tests is a good start, but only if they actually run. You can run tests manually after each change, but it doesn’t scale, it’s easy to forget, and team members may use different setups. Continuous integration (CI) automatically resolves running tests whenever code changes are pushed to the repository.
GitHub Actions There’s a free CI tool that does this at every push, keeping your solution reliable even when code, data, or logic changes. It runs your tests automatically on every push, so your solution remains reliable even when code, data, or logic changes. Here’s how to apply CI with GitHub Actions.
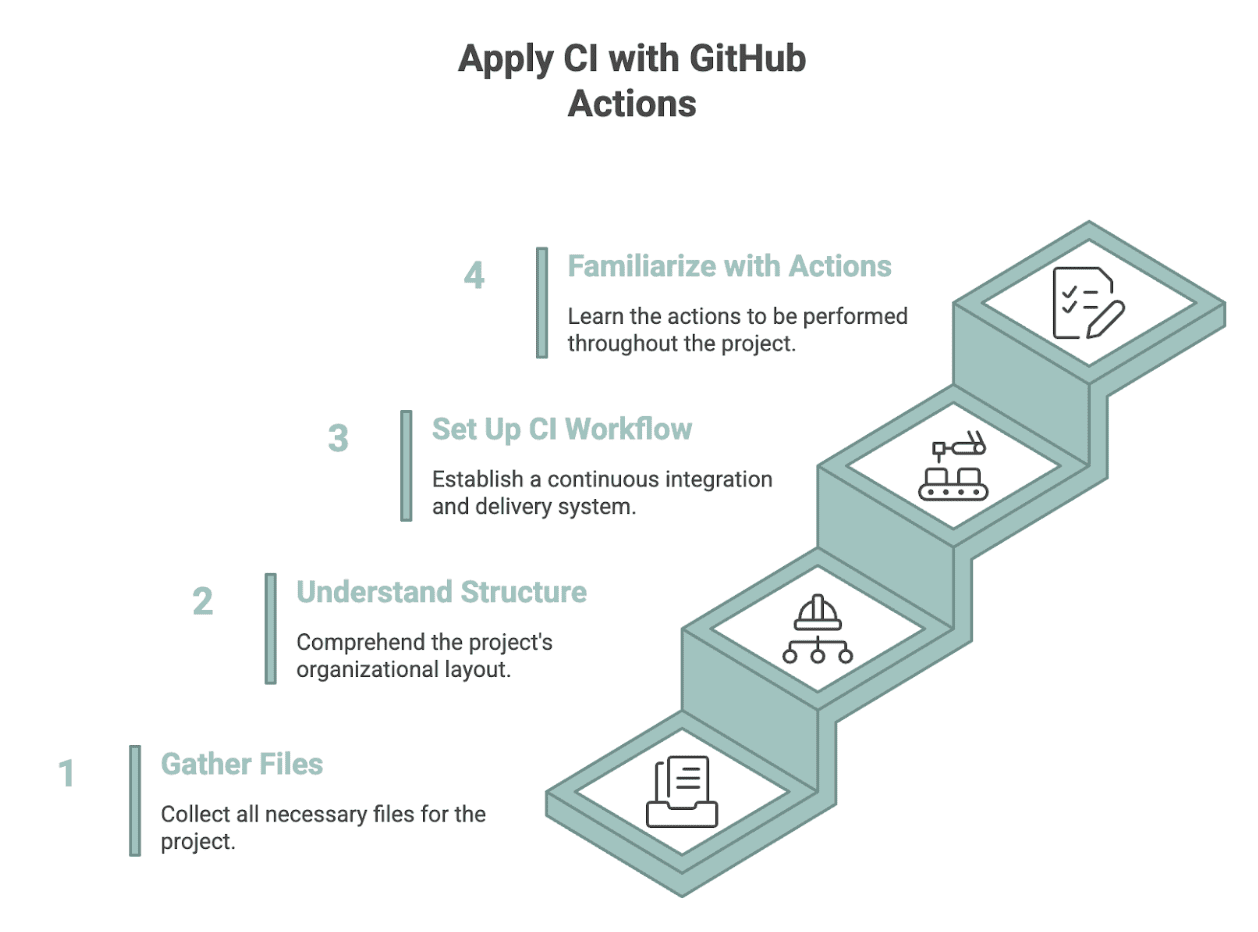
Photo by author
// Managing your project files
To apply CI to an interview query, you first need to push your solution to a GitHub repository. (To learn how to create a GitHub repo, please read This)
Then, compile the following files:
solution.py: Interview Questions Solutions from Step 2.1expected_output.py: Specifies the test input and expected output from step 2.2test_solution.py: Using unit testsunittestFrom step 2.3requirements.txt: dependencies (eg, pandas).github/workflows/test.yml: GitHub action workflow filedata/car_launches.csv: The input dataset used by the solution
// Understanding storage configuration
The repository is organized this way so GitHub actions can find everything in your GitHub repository without additional setup. It keeps things simple, consistent, and easy and convenient for you and others to work with.
my-query-solution/
├── data/
│   └── car_launches.csv
├── solution.py
├── expected_output.py
├── test_solution.py
├── requirements.txt
└── .github/
    └── workflows/
        └── test.yml
// Creating a GitHub Action Workflow
Now that you have all the files, the last thing you need is test.yml. This file tells GitHub actions how to automatically run your tests when the code changes.
First, we name the workflow and tell GitHub when to run it.
name: Run Unit Tests

on:
  push:
    branches: ( main )
  pull_request:
    branches: ( main )
This means that the tests will run every time someone pushes the code or opens a pull request on the main branch. Next, we create a job that defines what will happen within the workflow.
jobs:
  test:
    runs-on: ubuntu-latest
It runs on GitHub’s Ubuntu environment, giving you a clean setup every time. Now we step into this task. The first one checks your repository so that GitHub actions can access your code.
    - name: Checkout repository
      uses: actions/checkout@v4
Then we install Python and select the version we want to use.
    - name: Set up Python
      uses: actions/setup-python@v5
      with:
        python-version: "3.10"
Next, we install all the listed dependencies requirements.txt.
    - name: Install dependencies
      run: |
        python -m pip install --upgrade pip
        pip install -r requirements.txt
Finally, we run all unit tests in the project.
    - name: Run unit tests
      run: python -m unittest discover
This last step runs your tests automatically and displays any errors if something breaks. Here is the full file for reference:
name: Run Unit Tests

on:
  push:
    branches: ( main )
  pull_request:
    branches: ( main )

jobs:
  test:
    runs-on: ubuntu-latest

    steps:
    - name: Checkout repository
      uses: actions/checkout@v4

    - name: Set up Python
      uses: actions/setup-python@v5
      with:
        python-version: "3.10"

    - name: Install dependencies
      run: |
        python -m pip install --upgrade pip
        pip install -r requirements.txt

    - name: Run unit tests
      run: python -m unittest discover
// Reviewing test results in GitHub Actions
Once you have uploaded all the files to your GitHub repository, go to the Actions tab by clicking Actions, as you can see from the screenshot below.
![]()
Once you click on Actions, you will see a green check mark if everything is running successfully, like in the screenshot below.![]()
Click on “Update Test.email” to see what actually happened. You will have the complete breakdown from setting up Python to running tests. If all tests pass:
- Each step will have a check mark.
- This verifies that the work is done as expected.
- This means that your code behaves like every stage, which you have defined.
- The output matches your goals when creating these tests.
Let’s see:![]()
As you can see, our unit test completed in just 1 second, and the entire CI process finished in 17 seconds, verifying everything from setup to test execution.
// When a small change breaks a test
Not every change will pass the test. Let’s say you accidentally rename a column solution.pyand Push changes to GitHubfor example:
# Original (works fine)
df('net_new_products') = df('product_name_2020') - df('product_name_2019')

# Accidental change
df('new_products') = df('product_name_2020') - df('product_name_2019')
Let’s now see the test results in the Actions tab.![]()
It’s our fault. Let’s click on it to see the details.![]()
The unit test didn’t pass, so let’s click on “Unit Test Run Test” to see the full error message.![]()
As you can see, our tests found a problem with one KeyError: 'net_new_products'because the column name in the function no longer matches what the test expects.
This way you keep your code under constant check. Tests act as your safety net if you or someone on your team makes a mistake.
# Use version control to track and test changes
Versioning helps you track every change, whether it’s to your logic, your tests, or your dataset. Say you want to try a new way to group data. Instead of editing the main script directly, create a new branch:
git checkout -b refactor-groupingThen it is:
- Make your changes, commit them, and run the test.
- If all tests pass, meaning the code works as expected, merge it.
- If not, revert the branch without affecting the main code.
This is the power of version control: every change is tracked, testable and reversible.
# Final thoughts
Most people stop when they get the right answer. But real-world data solutions ask for more. They reward those who can generate questions over time, not just once.
With versioning, unit tests, and a simple CI setup, even a single interview question becomes a reliable, reusable part of your portfolio.
Nate Rosedy A data scientist and product strategist. He is also an adjunct professor teaching analytics, and the founder of StrataScratch, a platform that helps data scientists prepare for their interviews with real interview questions from top companies. Netcareer writes on the latest trends in the market, gives interview tips, shares data science projects, and covers everything SQL.